The Genealogist’s Guide to Photos and Photo Storage
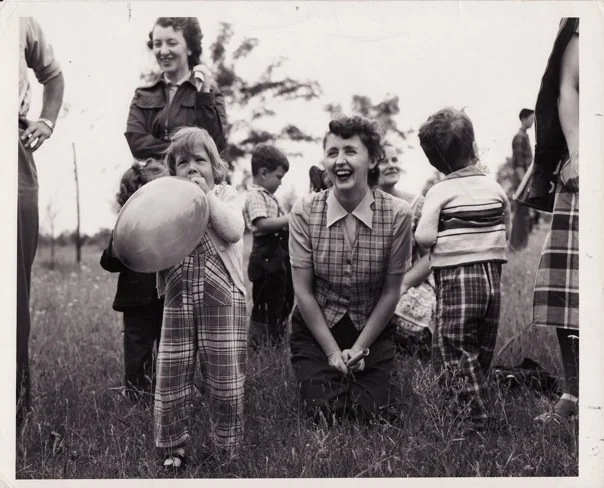
A photo one of my aunts shared online of my paternal grandmother (laughing, center) that I hadn’t seen before.
One of my favorite hobbies is photography, which helps get me out from behind a computer where I spend most of my working hours! I’m fascinated with all things photographic, whether historical or modern. I collect antique cameras, ranging from the very beginning of photography to years I would prefer not to consider antique because they were during my lifetime. I sometimes shoot on film, although I also have a digital camera and, like many people, a smartphone.
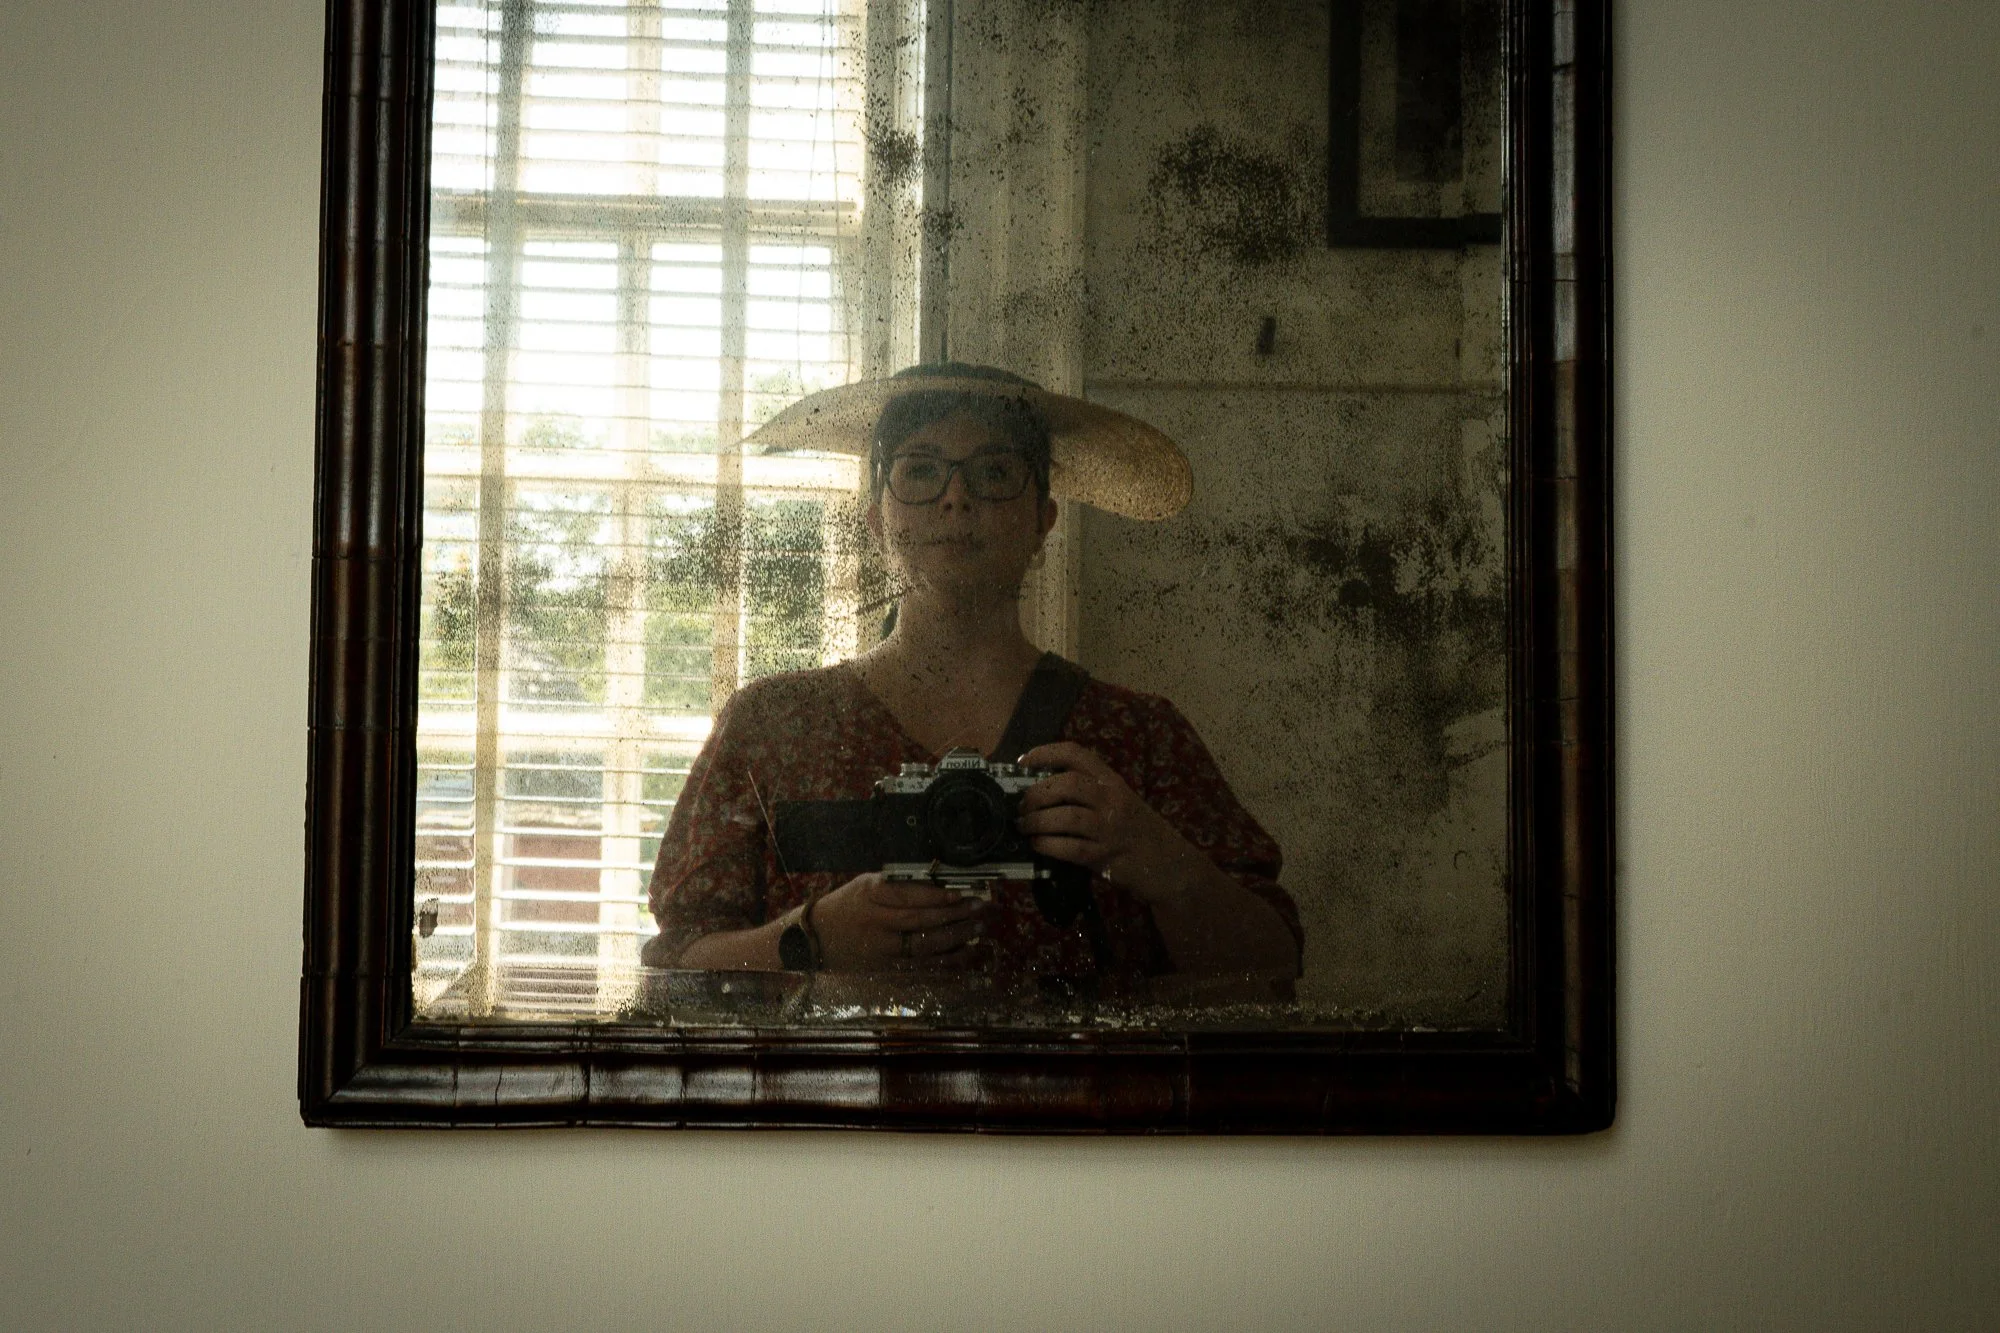
Self portrait, Colonial Williamsburg, 2024.
Probably unsurprisingly, there’s overlap between photography and genealogy. My interest in different photographic methods means I can identify different types of film and photos and use them to date photos (my interest in historical fashion is also helpful here). I’m also the person at family gatherings who is most likely to be taking photos and pulling out old family albums to talk about who’s who. Even as a kid, I loved getting out old photos and asking questions about people I didn’t know or moments I wasn’t around for. In many ways, photography and genealogy have always been intertwined for me.
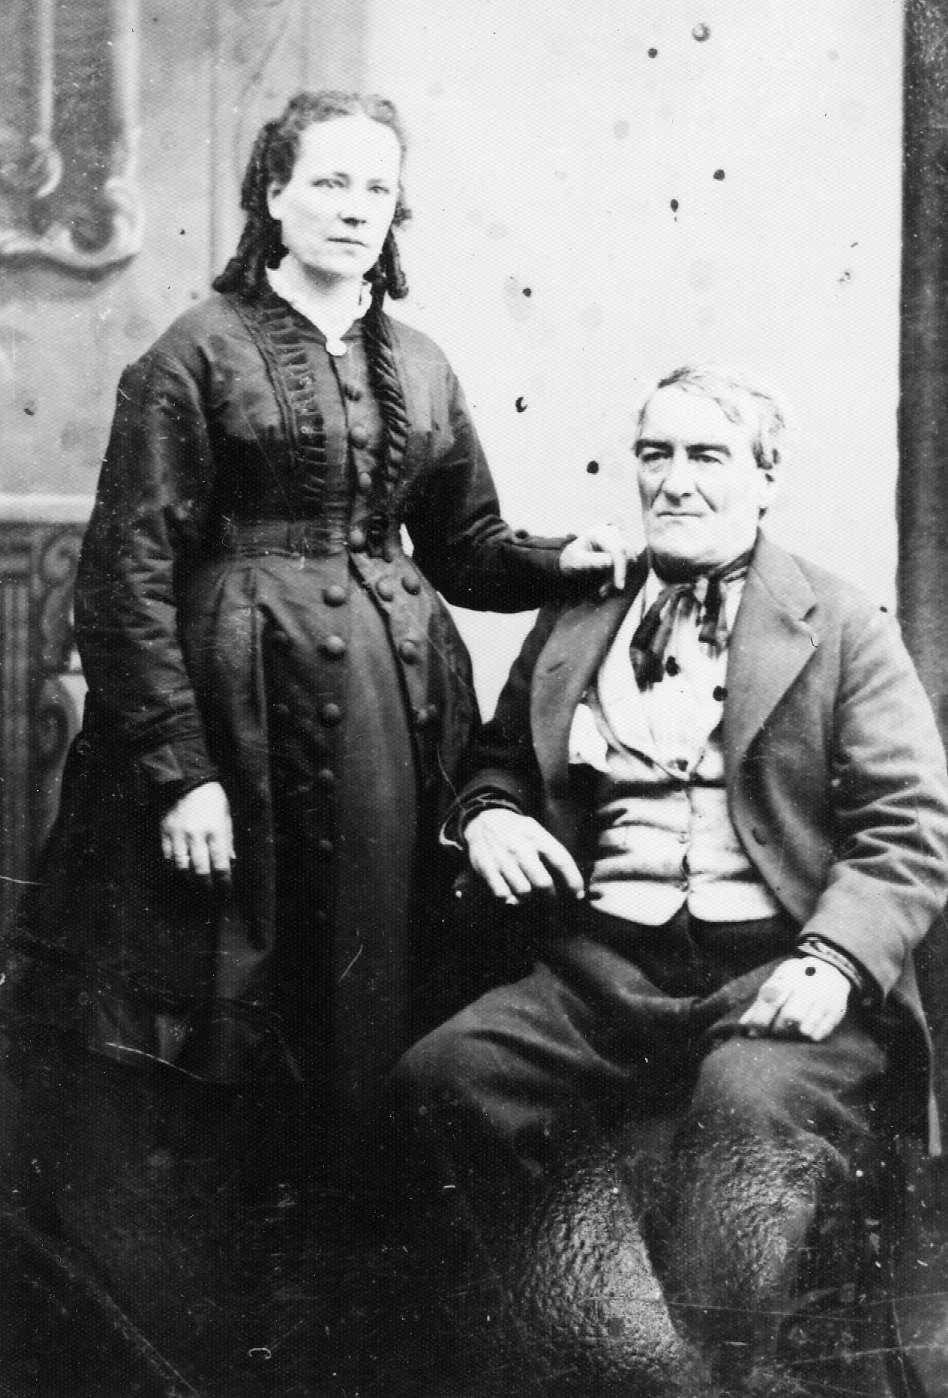
One of my favorite antique family photos, of my 3x great grandparents, Catherine Soleau and Pierre Drouillard. Likely circa 1870s.
Because I take, collect, and work with a lot of photos, I’ve had to create systems to save, track, identify, and share them. Organization isn’t the most glamorous part of genealogy—or any hobby—but once you’re dealing with hundreds or thousands of images, it becomes essential. We talk a lot about physical clutter, but digital clutter can be just as overwhelming. If you don’t have a system, it’s hard to even know what you have, let alone use it effectively.
This post focuses primarily on digital photo organization, though I’ll also share a few key tips for physical photos. If you’d like a deeper dive into organizing physical photographs, let me know—I’m happy to expand on that. For most people today, digital images are where the real challenges lie.
Physical Photos
For physical photographs, your top priorities should be:
Archival quality containers, such as photo albums with acid-free pages or acid-free boxes
A safe, stable storage location (away from heat, moisture, and light)
Clear labeling, both on containers and—when possible—for individual photos
When in doubt, look to how archives and museums care for their photo collections and adapt those practices to your budget. The most important rule is to store photos in archival-quality materials. I also encourage people to think of their photographs as an inheritance. Time passes, families change, and photos often outlive the people who remember the stories behind them. Investing in good storage—and making a plan for where your photos and research should go someday—helps ensure those images aren’t lost.
I’m always a little heartbroken when I see boxes of family photos at estate sales. Somewhere out there is usually a cousin who would treasure them. (For anyone related to me: I’m that cousin. Please give me your photos.)
As for organization, accessibility matters. A historian friend once told me that with digital files, too many folders make things harder to find—and that good labeling matters more than endless subdivisions. I think the same is true for physical photos. Two well-organized boxes are often better than ten vaguely labeled ones. Labeled photo albums work especially well, allowing you to group images by family, time period, or place. I usually organize by date, or the closest approximation. For extended family or non-family photos, I often start by separating maternal and paternal lines, then organize by decade or year.
Digital Photos
Digital photos are where most genealogists—both amateur and professional—struggle, simply because of volume. Phones, scanners, email attachments, cloud storage, and social media all contribute to photo overload. The goal isn’t perfection; it’s consistency.
1. Create a Simple, Logical Folder Structure
Keep your folder structure straightforward. Too many layers make files harder to find later.
A common and effective approach is:
Top level: Photos
Next level: Family line or surname
Next level (if needed): Year or date range
For example:
Photos > Smith Family > 1900–1925
However, less is more, so if you feel like the year subfolders are unnecessary, you can keep it to just surname or family branch, especially if your file naming is clear and consistent. If you’re a professional or advanced researcher working with multiple clients, consider separating:
Personal photos
Client photos
Research/reference images
Consistency matters more than the exact structure you choose, so select the option that will work best for you.
2. Use File Naming to Tell the Story
File names are powerful. A good file name can save you from opening dozens of images just to find the right one.
A practical format:
SURNAME_YYYY_People_Event_Location_DDMMMYYYY[if known]_Source
Example:
SMITH and JONES_1947_JohnSmithMaryJones_Wedding_SpokaneWA_John Smith via Email.jpg
Amateur genealogists might feel like they don’t need to be this detailed for every image—but being consistent and informative with naming goes a long way. Professionals should aim for more detailed, standardized naming, especially when working across projects. Always consider what will help you and others understand and find files.
3. Add Metadata Whenever Possible
Metadata is information embedded inside the image file, not just in the filename. Many photo management programs allow you to add:
Names of people pictured
Dates and locations
Notes about the photo’s origin
Copyright or usage information
This is especially important if images are shared, moved, or uploaded to family trees or archives. Metadata travels with the image, even if the file name changes.
4. Keep Originals and Edited Versions Separate
Always keep an untouched original scan or photo. If you crop, adjust contrast, or restore an image, save that as a separate file. Indicate in the file name when you have edited that photo.
For example:
Original: SMITH and JONES_1947_JohnSmithMaryJones_Wedding_SpokaneWA_John Smith via Email.jpg
Edited: SMITH and JONES_1947_JohnSmithMaryJones_Wedding_SpokaneWA_John Smith via Email_Edited.jpg
5. Backups Are Not Optional
If your photos only exist in one place, they are at risk.
At minimum, aim for:
One local backup (external hard drive)
One cloud backup
This applies equally to phone photos, scanned images, and inherited digital collections. It also applies to your physical photos—remember to scan them to have a digital backup to the physical version.
6. Connect Photos to Your Research
Photos shouldn’t live in isolation. Wherever possible:
Link images to individuals in your family tree software and in online trees
Note where the image came from and who currently owns the original
Use them and reference them in professional publications about the family
All of these ensure photos remain accessible for others, including extended family across the globe.
Digital photo organization can feel overwhelming, but like most genealogical systems, it’s something you build over time. Start small, be consistent, and remember: the goal isn’t just to store photos—it’s to preserve their stories.